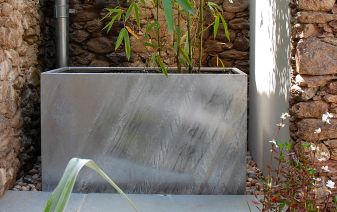
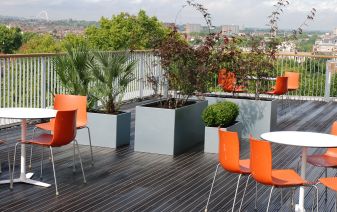
This guide outlines a 10-step planting process, covering all essential requirements for the successful planting of a typical commercial planter installation.
Scroll the image gallery above for an on-screen visual guide, or download the guide from the link to the right.
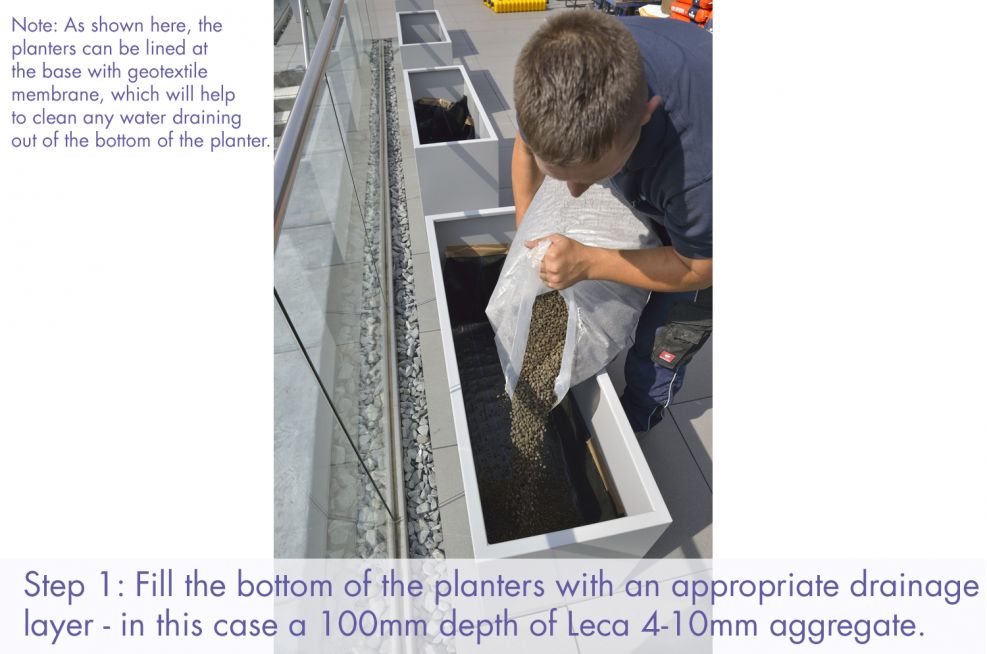
1. Fill the bottom of the planters with an appropriate drainage layer.
Prior to this step, if desired, the planters can be lined at the base with geotextile membrane, which will help to clean any water draining out of the bottom of the planter.
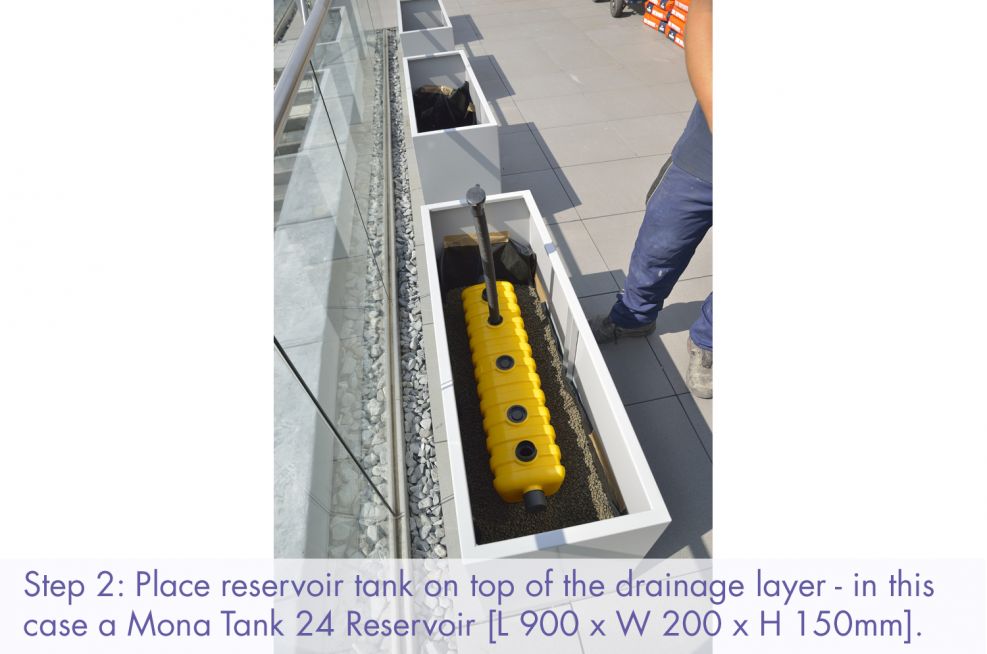
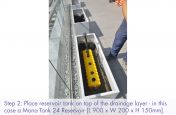
2. Place reservoir tank on top of the drainage layer.
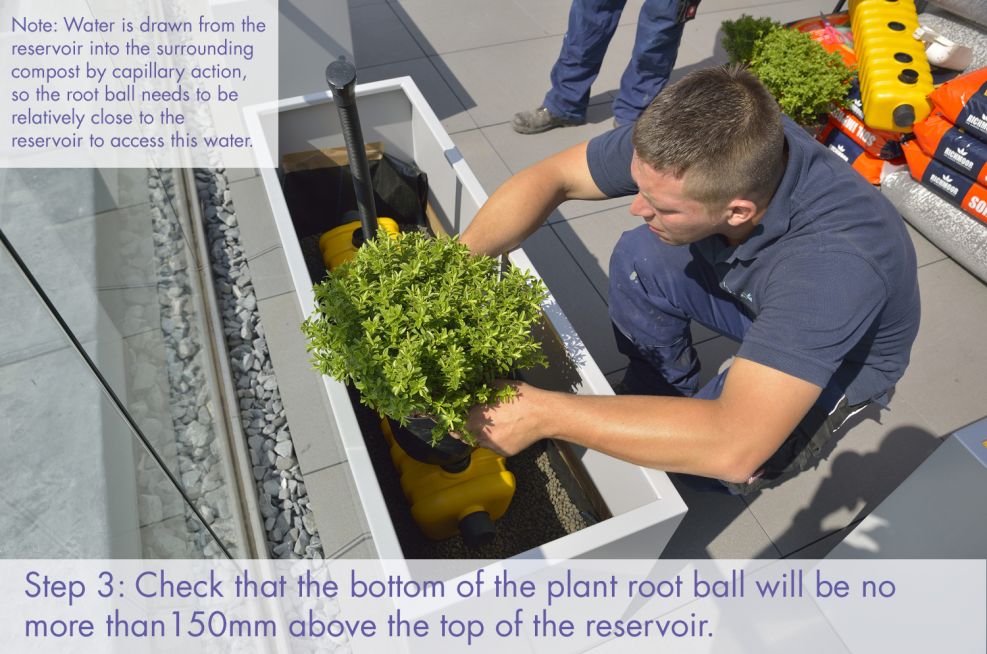
3. Check that the bottom of the plant root ball will be no more than 150mm above the top of the reservoir.
Water is drawn from the reservoir into the surrounding compost by capillary action, so the root ball needs to be relatively close to the reservoir to access this water.
4. Fill reservoir tank capillary leg(s) with loose compost, and press down gently to eliminate any large air pockets.
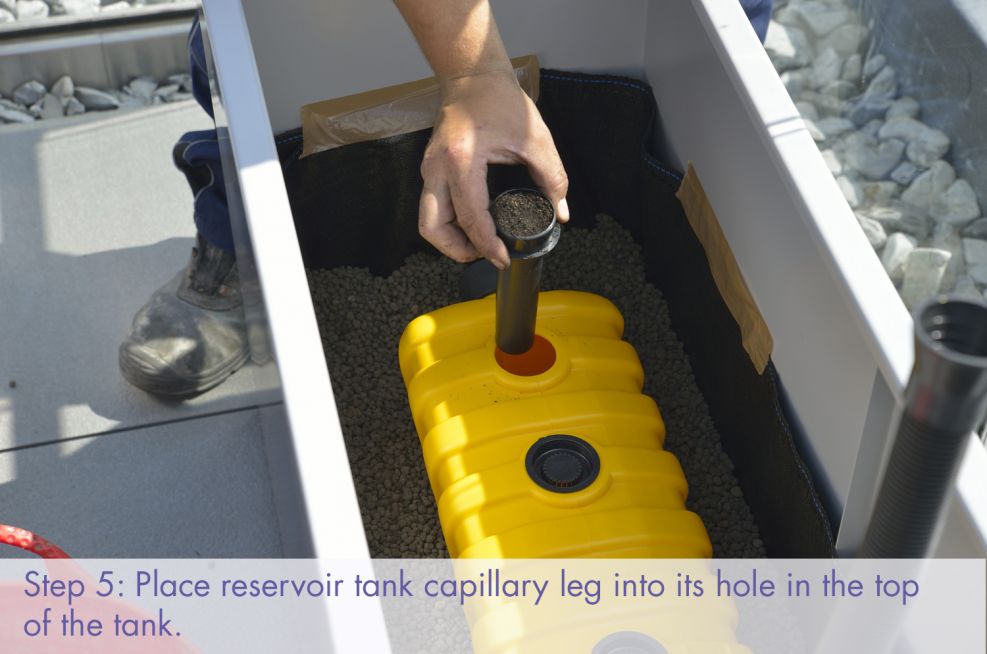
5. Place reservoir tank capillary leg into its hole in the top of the tank.
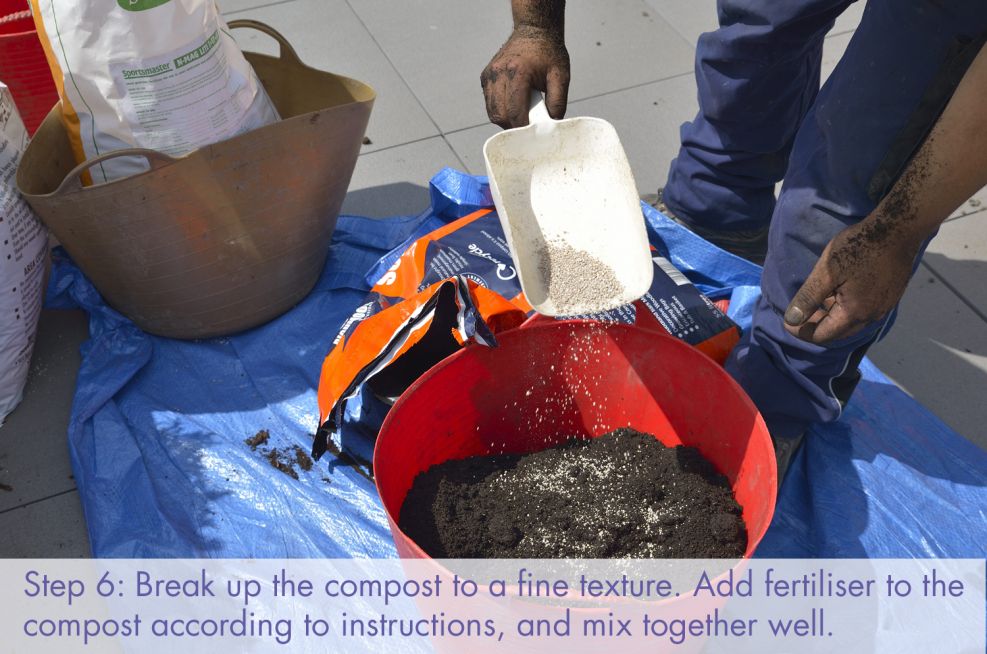
6. Break up the compost to a fine texture. Add fertiliser to the compost according to instructions, and mix together well.
7. Fill the planters with fertilised compost to just cover the reservoir tanks.
At this stage, each reservoir should be filled with water until the float indicator shows that it is full. The planters should then be left for a while, until the surface of the compost is saturated with water.
The plants should also be well watered before planting, so the soil around the roots is saturated. And at the point of planting, the plant’s root ball should be gently teased apart and loosened, which will help the roots to rapidly establish.
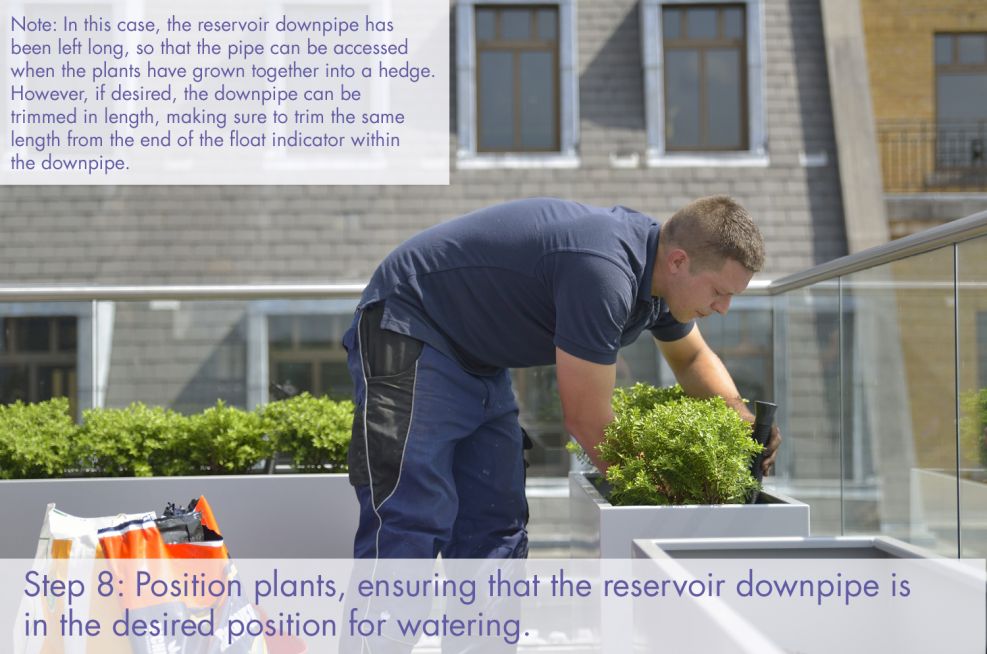
8. Position plants, ensuring that the reservoir downpipe is in the desired position for watering.
The reservoir downpipe can either be left long, so that the pipe can be accessed when the plants have grown together into a hedge. Alternatively, the downpipe can be trimmed in length, making sure to trim the same length from the end of the float indicator within the downpipe.
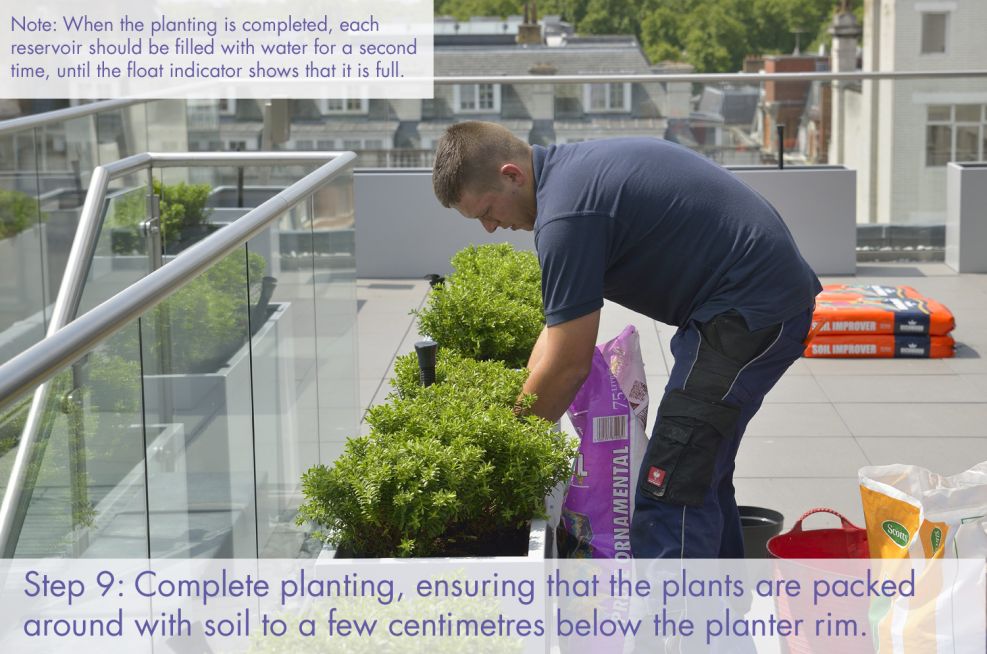
9. Complete planting, ensuring that the plants are packed around with soil to a few centimetres below the planter rim.
When the planting is completed, each reservoir should be filled with water for a second time, until the float indicator shows that it is full.
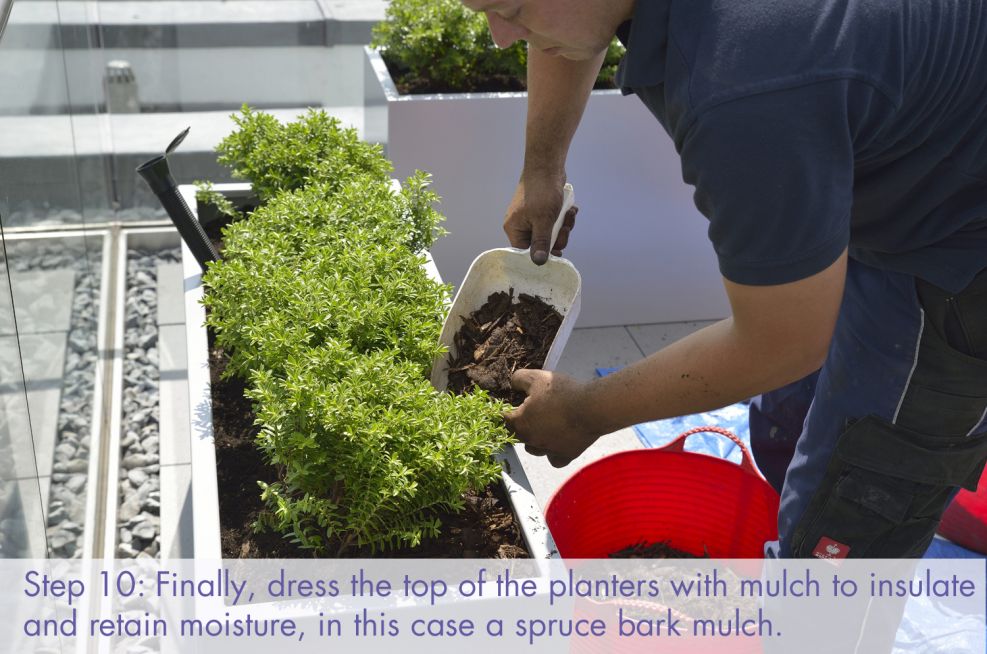
10. Finally, dress the top of the planters with mulch to insulate and retain moisture.
The images show a planter installation and planting conducted by IOTA for a sovereign wealth fund in the heart of St James's, London SW1. A total of 22 bespoke trough planters were supplied, each L 1200 x W 400 x H 600mm, manufactured from 1.5mm thick Zintec steel, polyester powder coated to RAL 9006 [White aluminium]. The internal reservoir system selected was the Mona Tank 24 [reservoir dims: L900 x W 200 x H 150mm], and each planter was also lined, fertilised and mulched. The plants selected were Hebe rakaiensis, to provide easy-maintenance, year-round foliage, with seasonal floral interest.
Contact IOTA T. 01934 522617